Well first of all you need some nodes, nodes that will be used as a platform for your docker services but we won’t cover the node installation only the configuration and the rancher part.
I used 5 Coreos virtual machines as my nodes, with a NFS mapped partition for persistent data. I also have to mention that my rancher server runs on a different Coreos virtual machine (yes, I have 6 vms).
To install Coreos you need to make a cloud-init config, this config will have all your machine’s details. For example, my config looks something like this, with obvious changes:
#cloud-config

hostname: rancher-node1

coreos:
  units:
    - name: 00-eth0.network
      runtime: true
      content: |
        [Match]
        Name=eth0

        [Network]
        Address=192.168.x.x/24
        Gateway=192.168.x.y
        DNS=8.8.8.8

    - name: docker-tcp.socket
      command: start
      enable: true
      content: |
        [Unit]
        Description=Docker Socket for the API

        [Socket]
        ListenStream=2375
        BindIPv6Only=both
        Service=docker.service

        [Install]
        WantedBy=sockets.target
    - name: docker.service
      drop-ins:
        - name: 50-insecure-registry.conf
          content: |
            [Service]
            Environment='DOCKER_OPTS=--insecure registry="10.10.0.0/16"'
    - name: rpc-statd.service
      command: start
      enable: true
    - name: var-lib-registry.mount
      command: start
      content: |
        [Mount]
        What=192.168.x.z:/srv/docker/registry
        Where=/var/lib/registry
        Type=nfs
  update:
    reboot-strategy: etcd-lock

write_files:
  - path: "/etc/resolv.conf"
    permissions: "0644"
    owner: "root"
    content: |
      nameserver 8.8.8.8
To install the Coreos operating system with this config you have to know which is your base hard-drive (sda, vda) and then run this command:
coreos-install -d /dev/sda -C stable -c cloud-init
Let’s break that command apart, so -d refers to your hard-drive (you can easily find out which is your hard drive by typing the command sudo fdisk -l). After that comes the -C parameter, this is the os version, there are 3 Coreos versions: stable, beta and alpha. And the last one is the cloud config mentioned earlier, you just have to make a random file, with a random name (i used cloud-init), add the code and mention it in the command (-c cloud-init).
So, let’s get started. As I mentioned earlier I have a mapped partition located on /var/lib/registry. This is important because this way I can make backups to my rancher’s mysql database and I won’t lose data (also it’s on my NFS server, not on my vm).
The NFS mounting part in the cloud-init config looks like this:
- name: var-lib-registry.mount
      command: start
      content: |
        [Mount]
        What=192.168.x.z:/srv/docker/registry
        Where=/var/lib/registry
        Type=nfs
Where 192.168.x.z is the NFS server.
The command to run a rancher container looks like this:
docker run -d --restart=unless-stopped -p 8080:8080 -p 9345:9345 rancher/server
But as I was saying I modified it to use a volume, so mine looks like this:
docker run -d --restart=unless-stopped -p 8080:8080 -p 9345:9345 -v /var/lib/registry/rancher/var/lib/mysql:/var/lib/mysql rancher/server
I recommend using the built-in mysql server because if you use a separate mysql container the system might fail.
If the system starts correctly you should access in a browser the IP of the Coreos machine like this: https://x.x.x.x:8080, where x.x.x.x is your machine’s IP address. After which you will be notified that the connection isn’t safe.
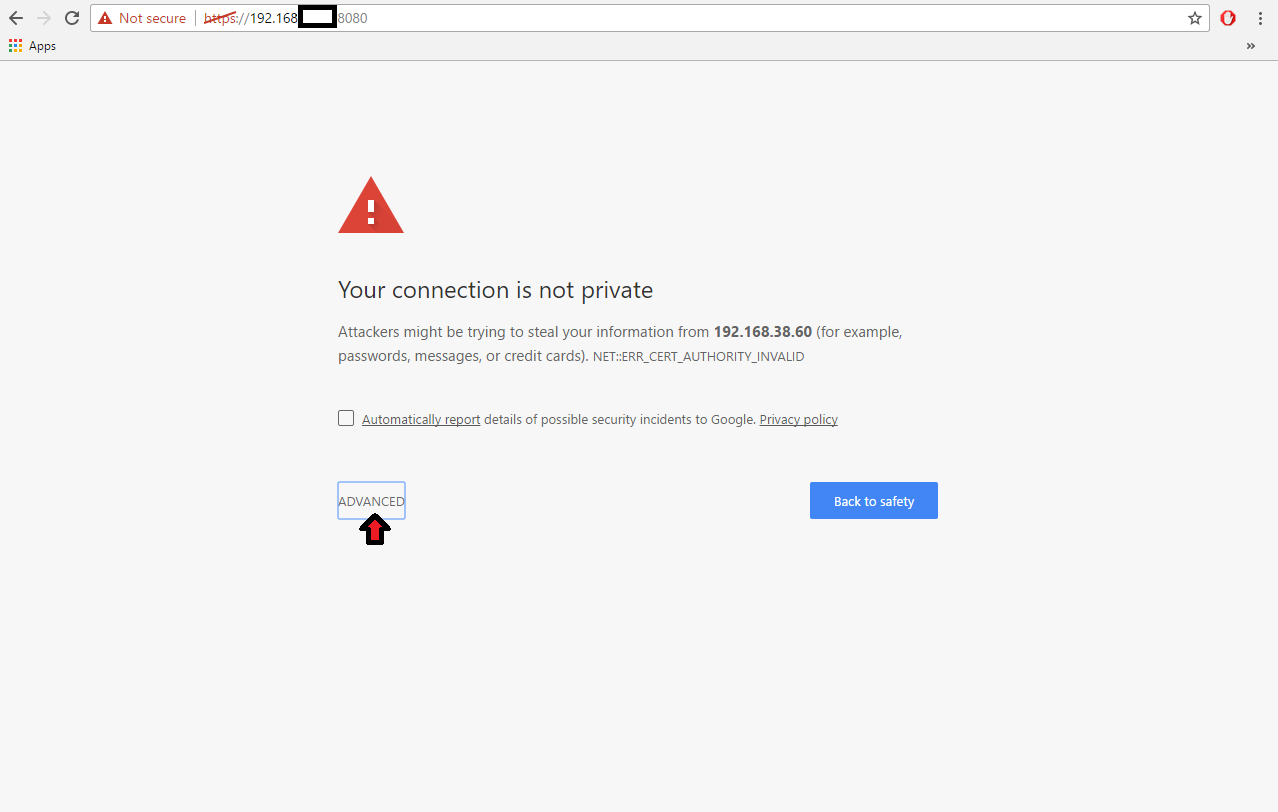
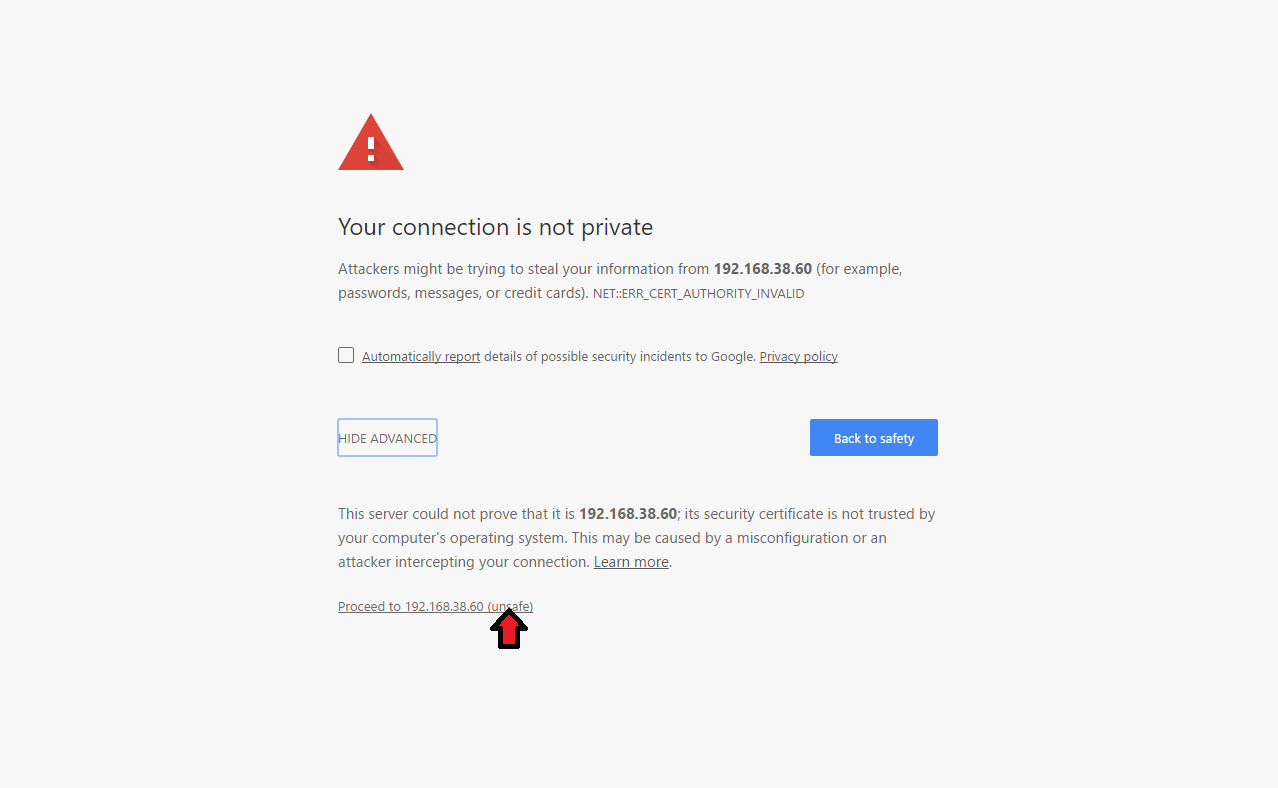
Accept the risk and access the website.
This is how it should look like:

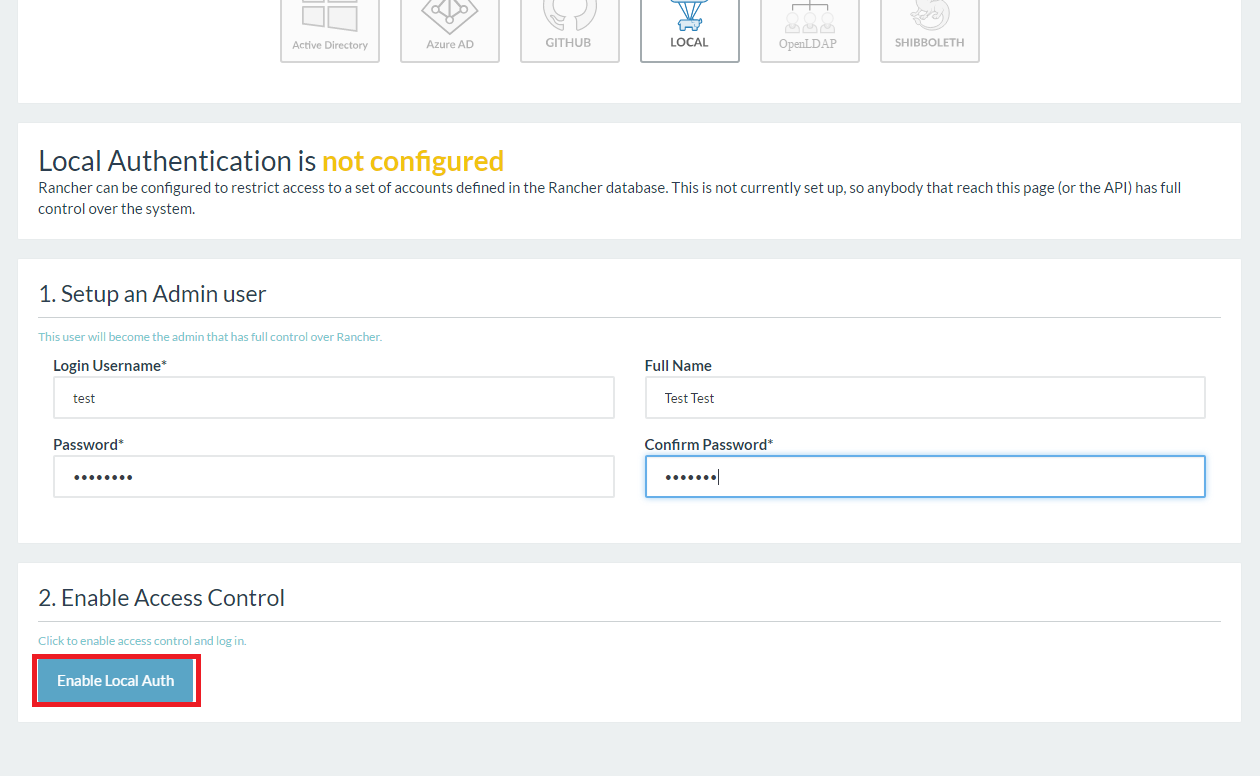
The next step describes how to configure authentication. You have to click the Admin tab, then click on Access Control. Here you have multiple ways to configure authentication but we will use Local Authentication.

You just have to enter a Login username and a password (twice).

Then click on Enable Local Auth.
By now you realized that rancher is screaming that you don’t have nodes configured, so let’s do that. Click on the infrastructure Tab and an Add Host button appears.

Click it and the documentation to add a host appears.

A screen will appear asking for your URL, you should set it to http://x.x.x.x:8080, not https because it might fail.
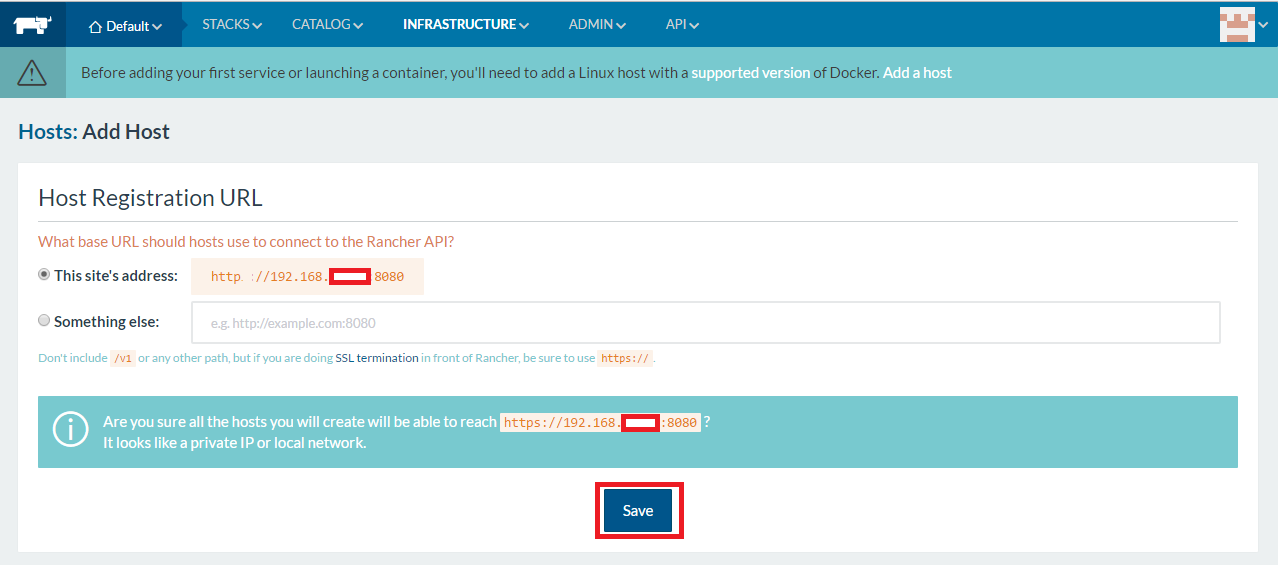
Don’t get scared, if you already started your Coreos machines you just have to copy the script at number 5 and paste it in the Coreos machine console (all the machines except the one with the rancher container).

Hit close and one by one the nodes appear.
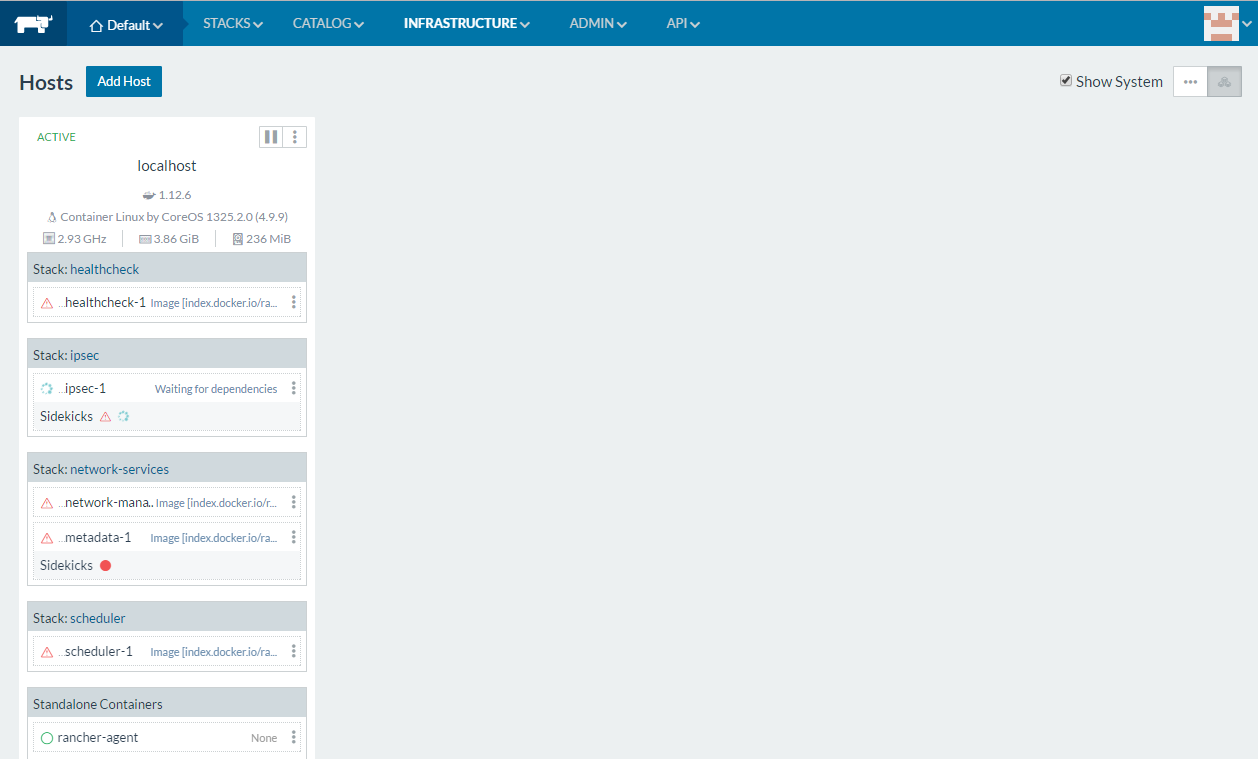
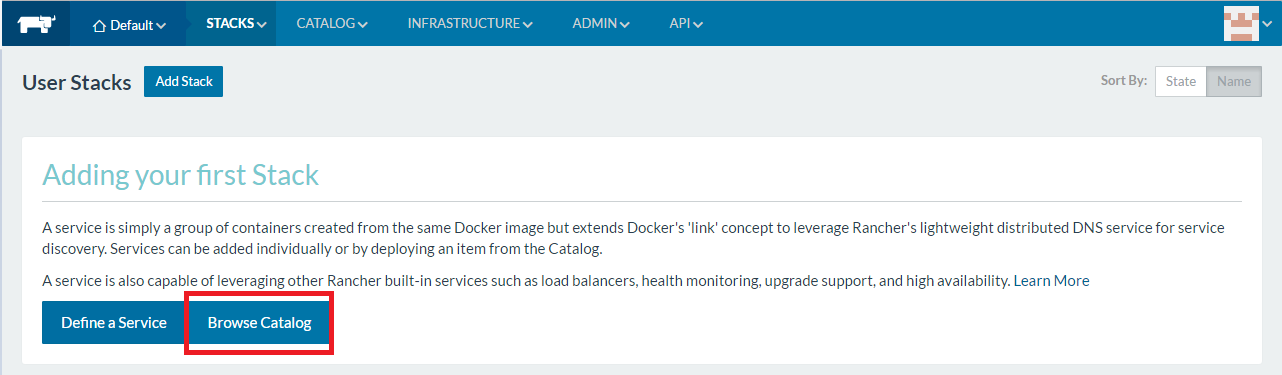
You are almost done, click on the Stacks tab to add your services (custom built or from the Catalog).
These are services, not containers, every stack has at least one service and every service has at least one container.
Be aware that after you add your first node it will take some time until rancher’s internal services will be up and running. So wait 5 minutes before you add your services.
As an example I will show you how to configure a Zookeeper/Kafka service, for now just click on the Browse Catalog button.
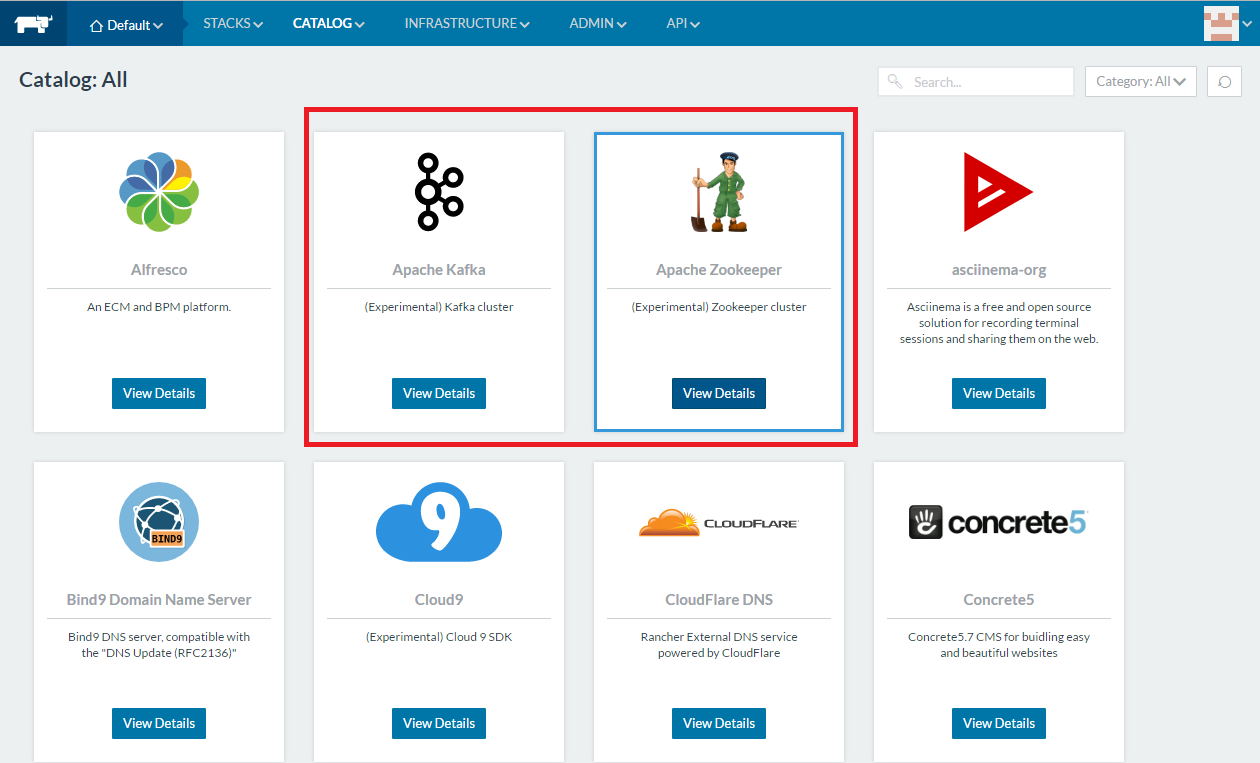
First you should set up zookeeper, so click on the View Details button.
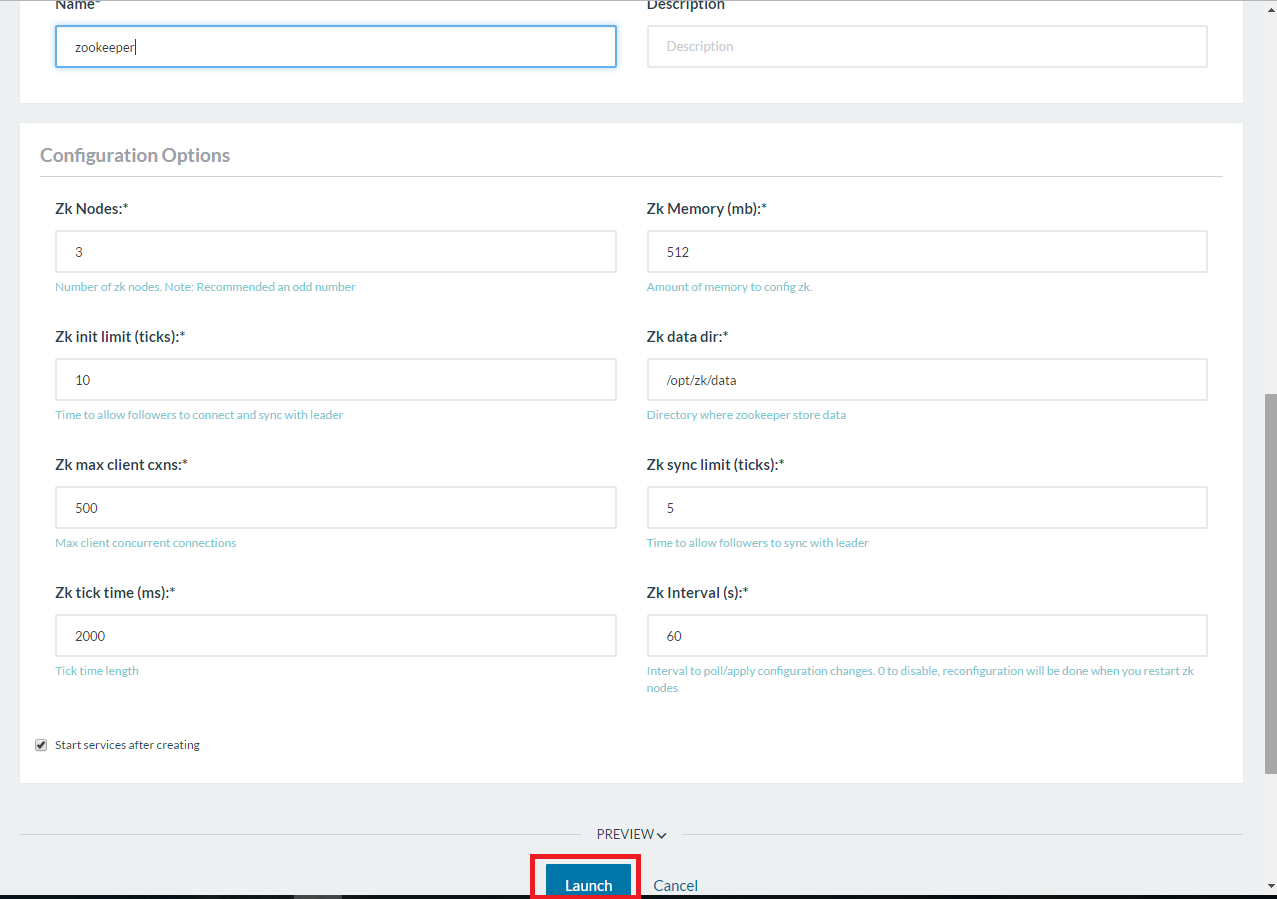
A bunch of configurations will appear, but we will configure a basic one, so you just have to click on Launch.
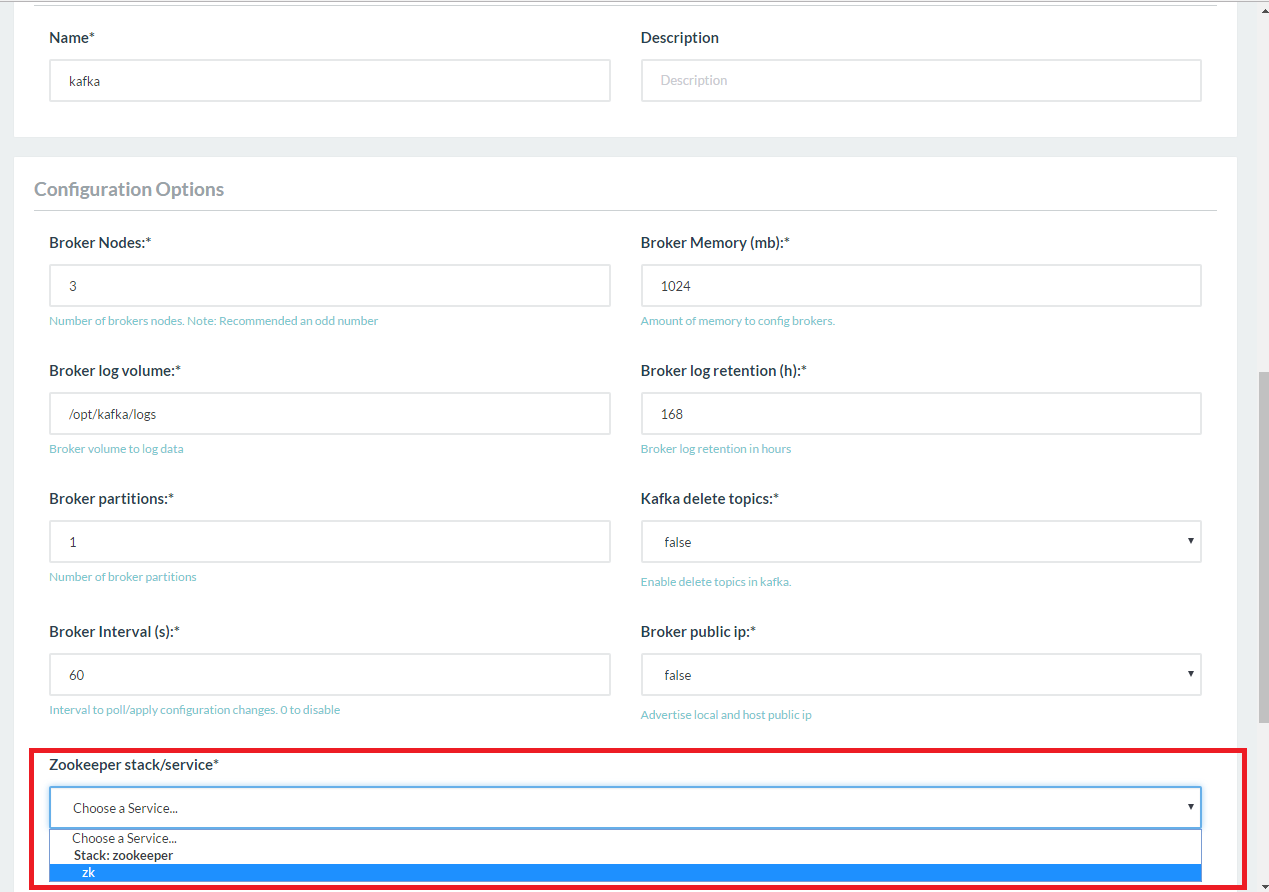
After which you should add Kafka, repeat the steps mentioned earlier and click on Kafka’s View Details button. The most important part here is to set you Zookeeper. Click on the Choose a Service tab, and select your Zookeeper from the services list, like in the image below.
Click on launch and your service will be added automatically. And you’re done, when everything is started it should look like this:
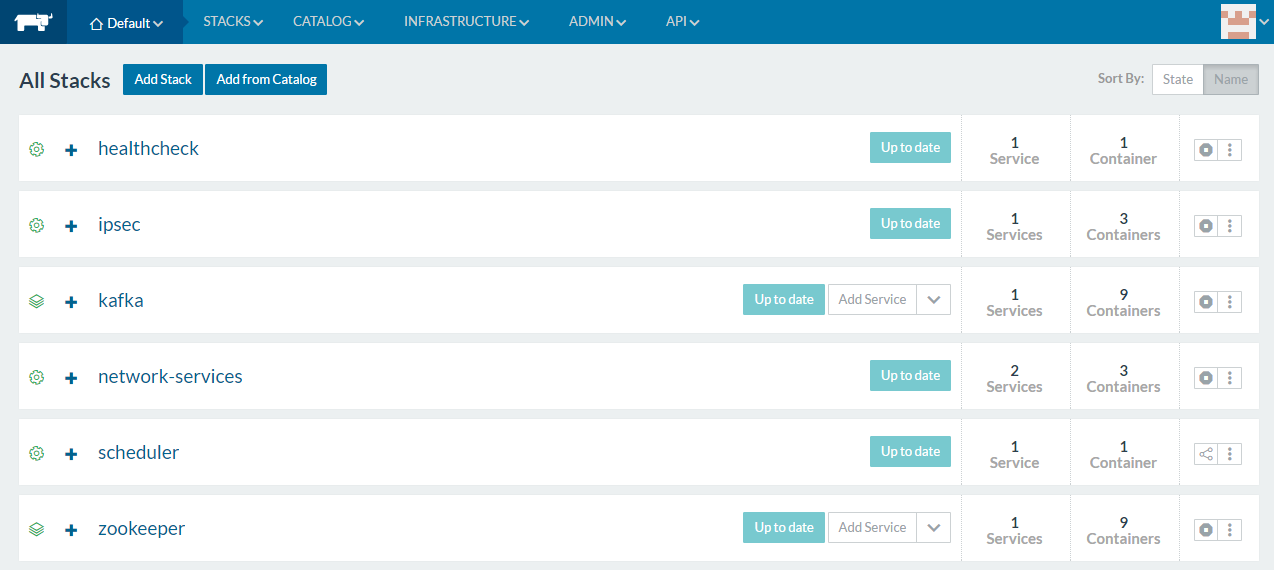
The image above is the Stack/All tab, here you will see your services and rancher’s internal services.
So this is it, feel free to ask questions in the comment area down below.