
If you have ever designed an XML layout, I am certain that you used some hard coded values at least once. How many times have you forgotten to remove those values and they ended up in your final product ? Yeah, I don’t like that answer either ! Continue reading if you want to know how to avoid this pitfall…
Imagine designing a layout in Android Studio , you add all the components you need and then you look at the preview pane and you see this :

… a pretty much empty layout. You need some dummy data to see if all the components align correctly and if they look good (let’s face it, we don’t always have time for dummy data and resources) so you do the unimaginable
<TextView android:text="EUR" /> |
Now your preview pane displays: 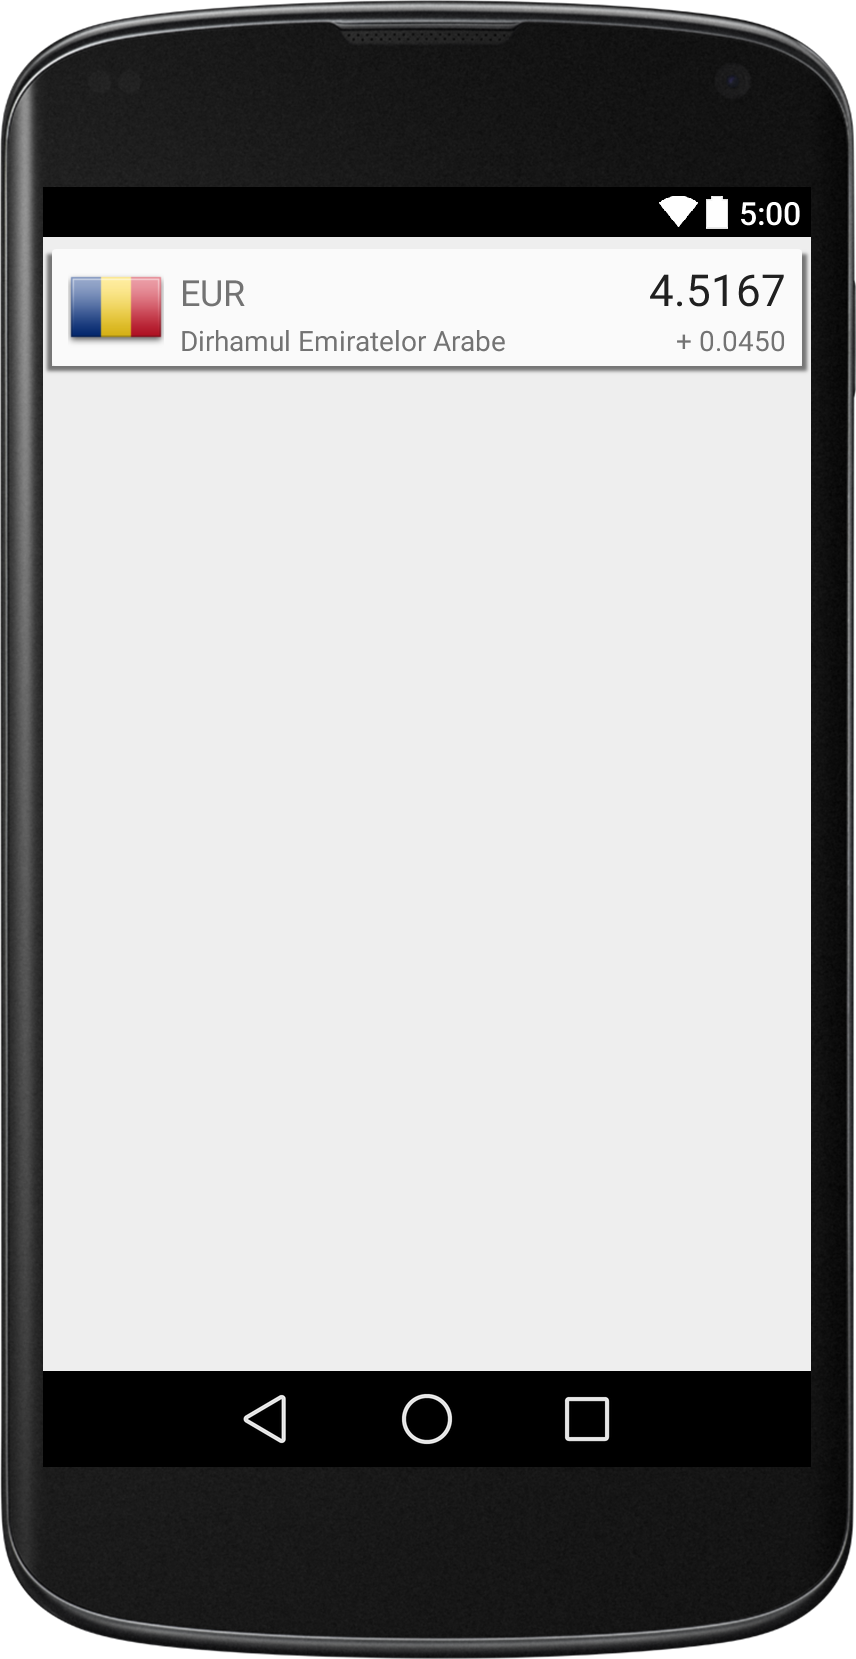
Great!! I’ll remove those strings after I finish wiring the real data (admit it – you also say that). Somehow, some of those strings always find their way in the production code.
Tools to the rescue
The tools namespace will become your greatest friend. By adding this simple line of code to the root element of your layout
xmlns:tools="http://schemas.android.com/tools" |
you will be able to add as many hard coded values as you want and not worry about them again because :
- tools overwrites android: attributes in the layout context ( aka at design time)
- tools attributes are excluded from the actual apk.
This means that you can replace
<pre lang="xml"> <TextView android:text="EUR" /> |
with
<android.support.v7.widget.CardView xmlns:android="http://schemas.android.com/apk/res/android" xmlns:app="http://schemas.android.com/apk/res-auto" xmlns:tools="http://schemas.android.com/tools"> <TextView tools:text="EUR" /> |
and you’re all set, nothing more to do here !
Tools can override most of the regular android attributes at design time. Besides using it for hard coded strings and dimensions, the tools namespace can be really useful if you need to add images to your layouts. Imagine if you had a really big image (1920px x 1280px) that you need to load in an ImageView. Using
<ImageView android:src="@drawable/hd_image" /> |
will allow you to have a preview at design time, but you will end up with a StackOverflowError on devices that can’t afford enough RAM to load the image. Naturally, you turn to best practices and end up resizing and setting the image from code – but I don’t have any preview of the image when I design the layout (you will say).
Well, now you do
<ImageView tools:src="@drawable/hd_image" /> |
will get you a preview (note that you must load the resized image from code) so you can tweak the layout to your liking.
Hope you find this useful, thanks for reading.